
Last updated November 21, 2026
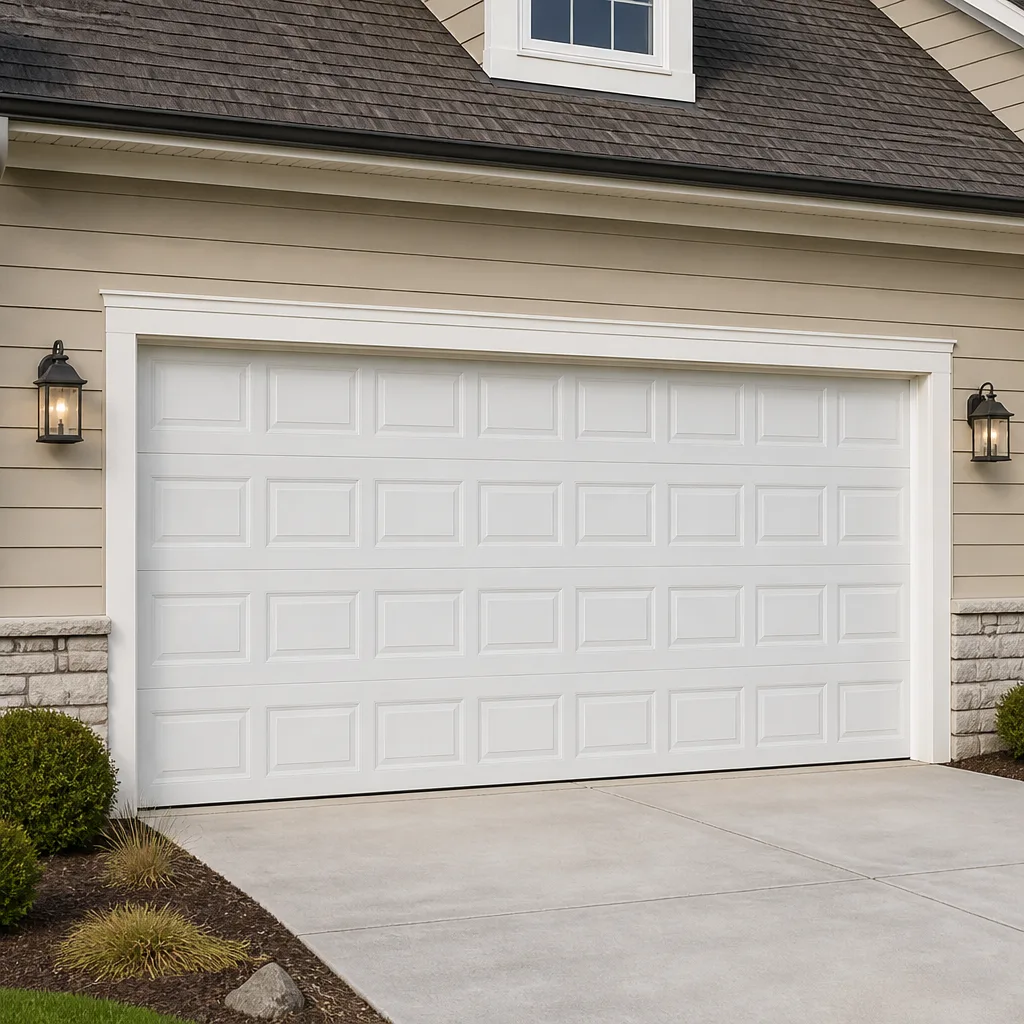 Raised-panel steel
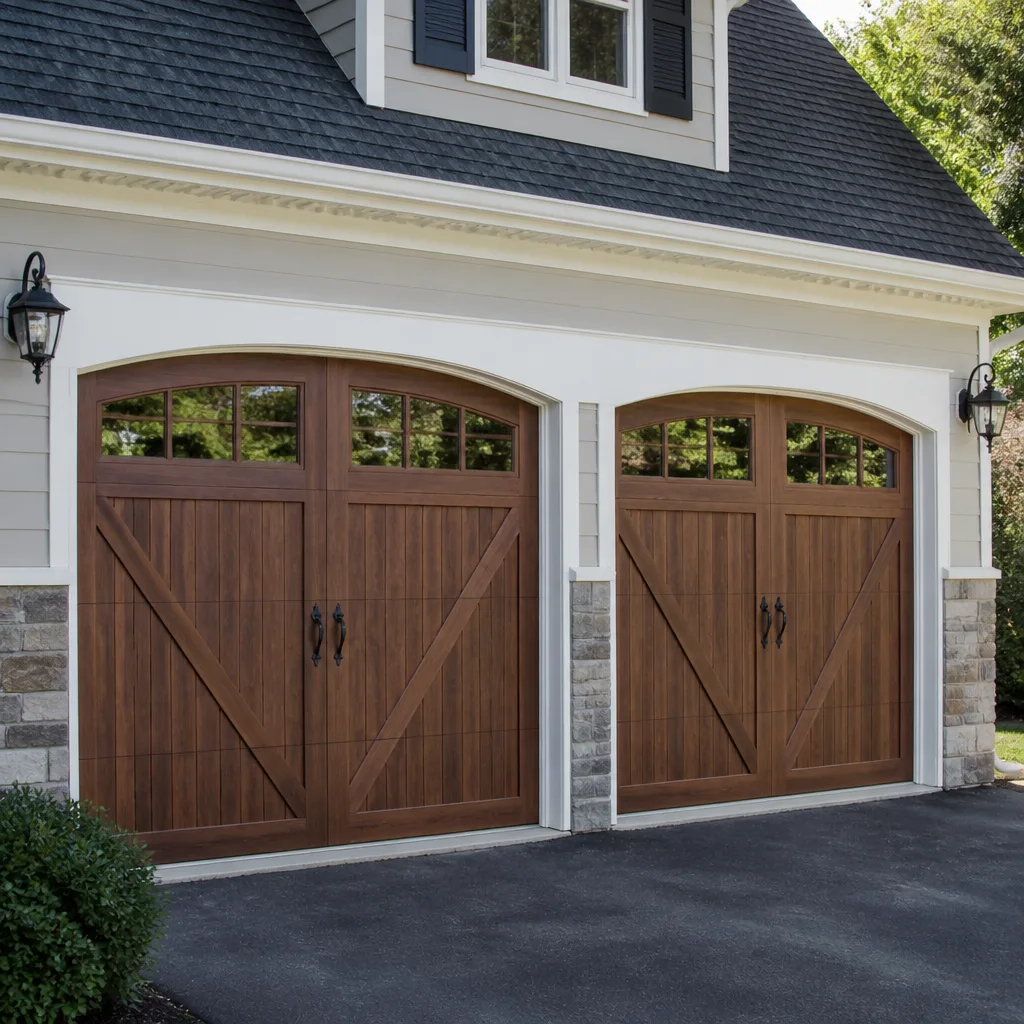 Carriage house
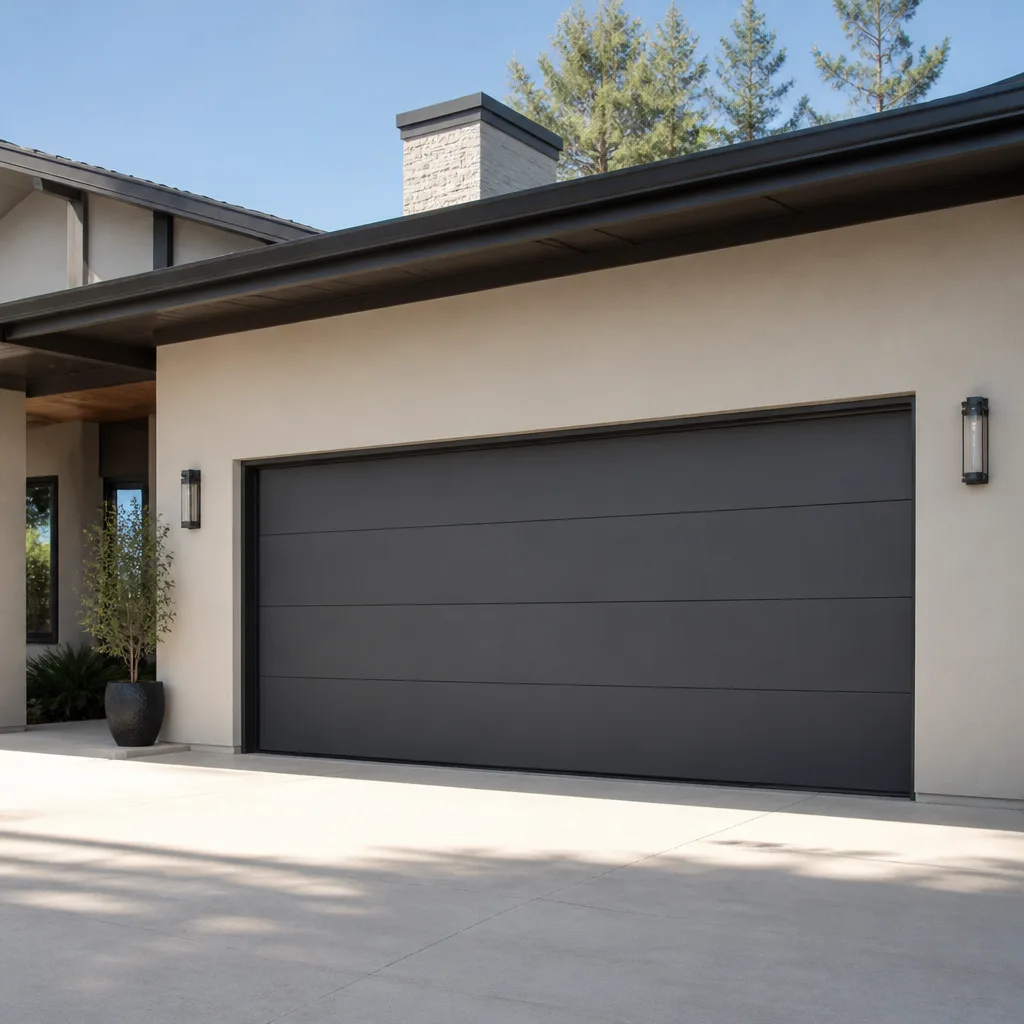 Modern flush
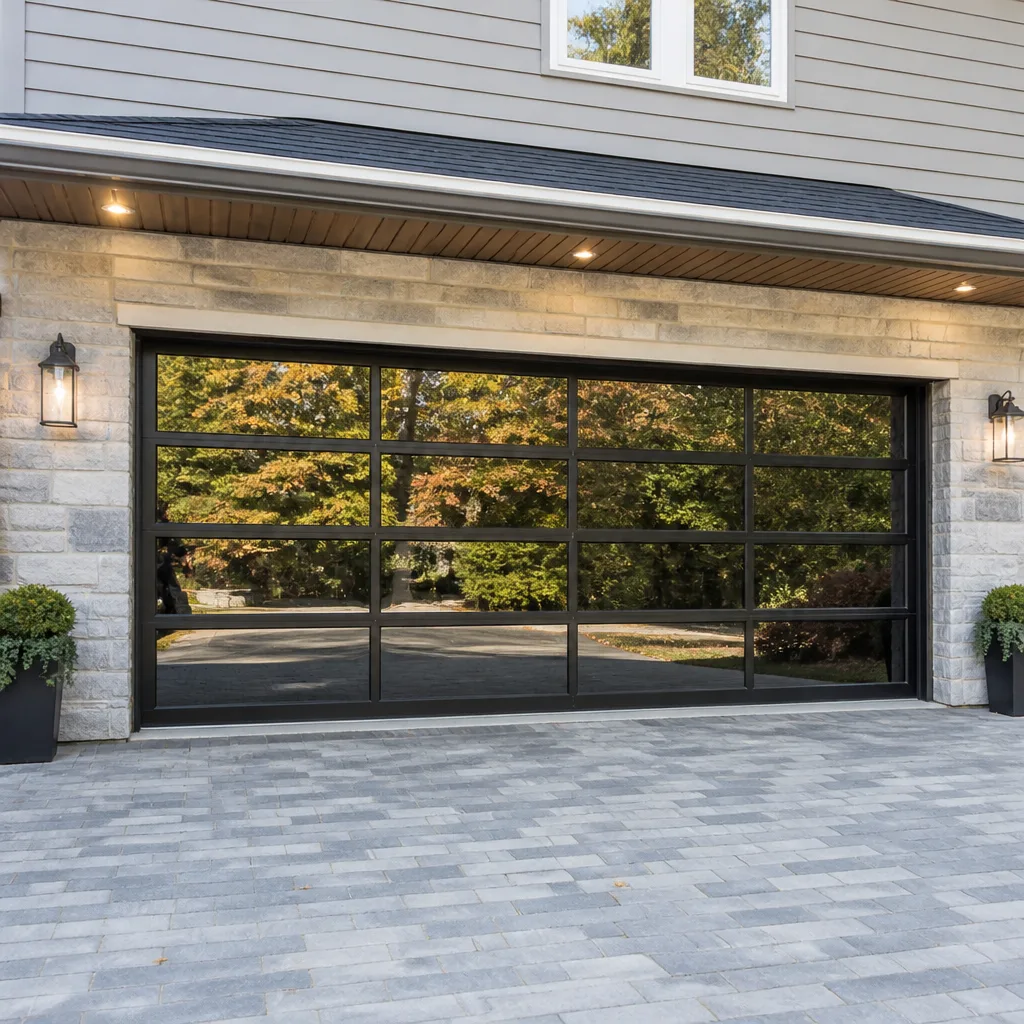 Full-view glass
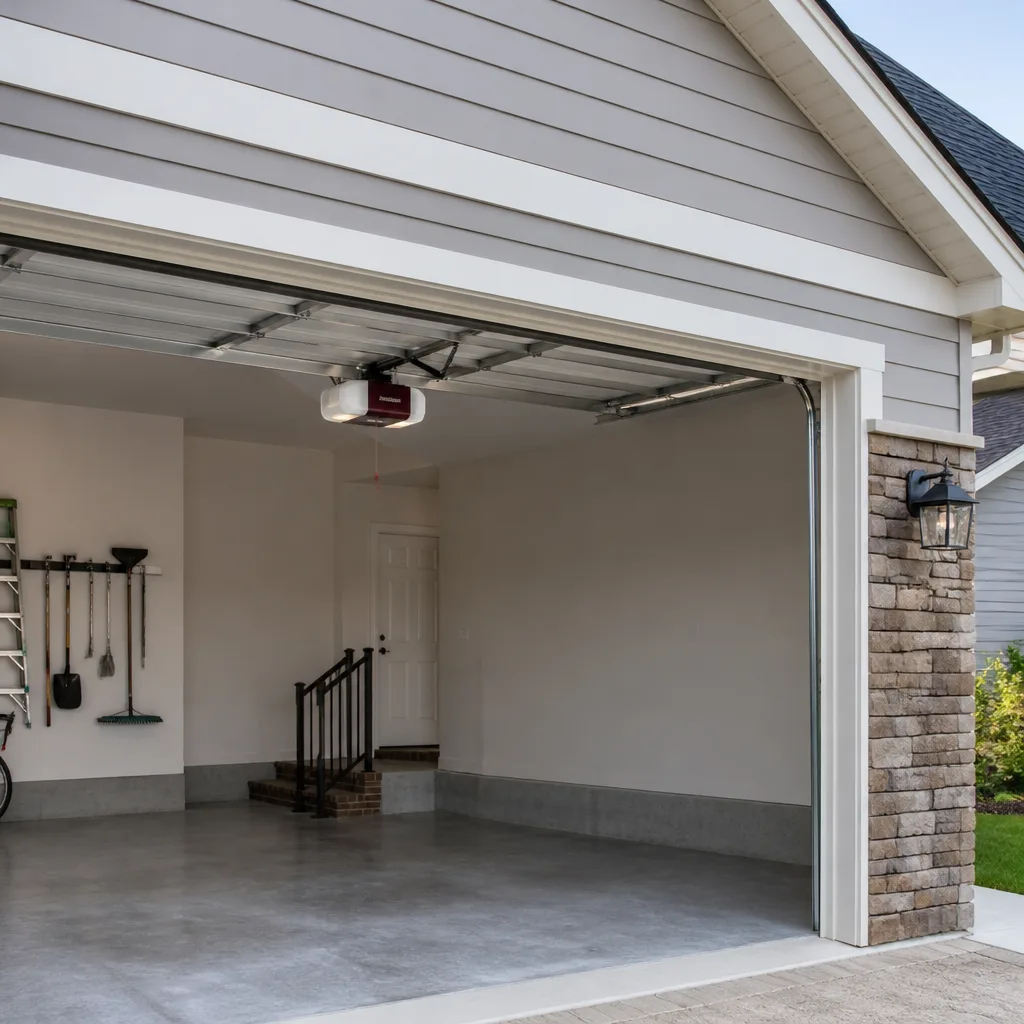 LiftMaster openers
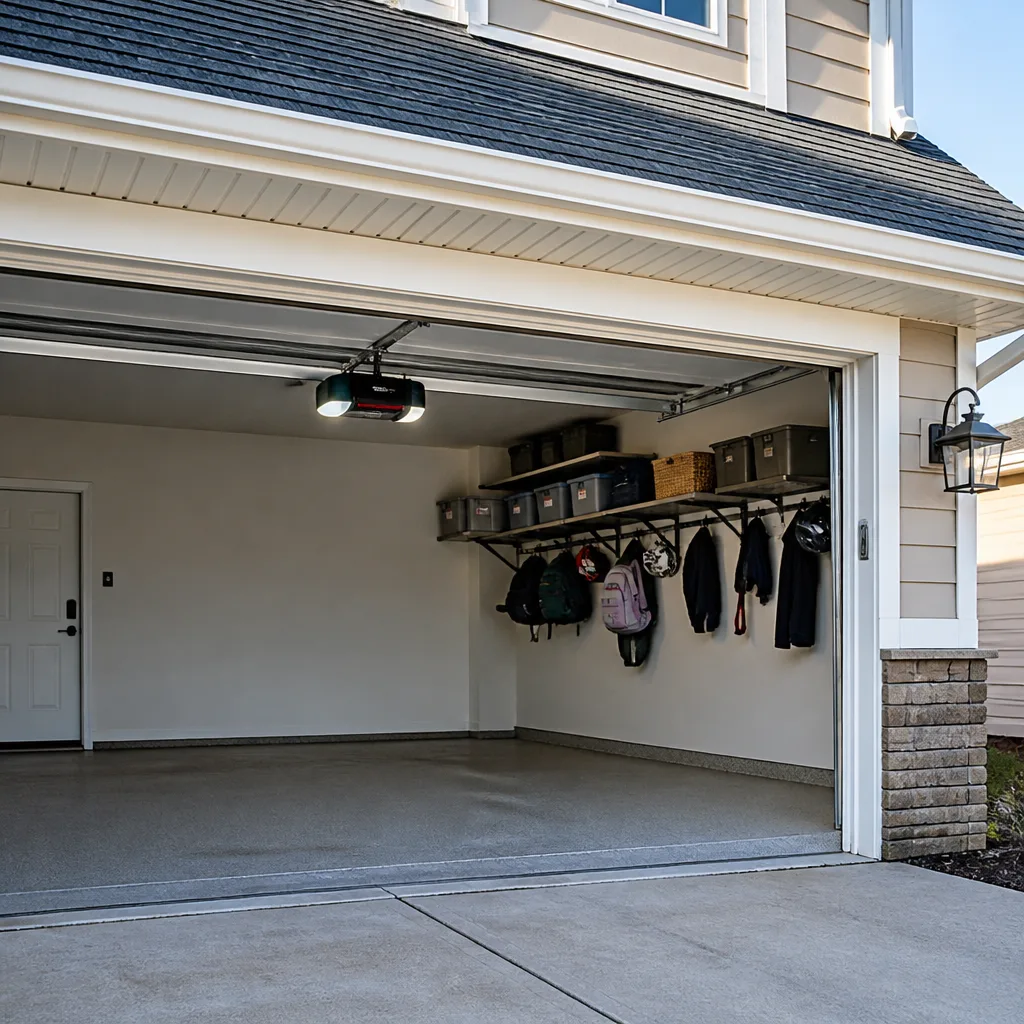 Chamberlain openers
Full 25-point door and opener safety check with every visit - springs, cables, rollers, tracks, and your LiftMaster or Chamberlain opener included
You get a price before we start. It does not change when the pro arrives.
Get your free estimateDIY vs Professional Garage Door: The Cambridge Homeowner’s Decision Guide
Most garage door advice treats DIY as a skill question. Are you handy enough? Do you own the right tools? That framing misses the real issue. The better question is which tasks carry physical risk that grows with inexperience, and which are genuinely straightforward no matter who picks up the wrench. A torsion spring and a misaligned safety sensor sit in completely different categories, and lumping them together is how homeowners get hurt or waste money. This guide sorts every common garage door task into the right bucket, with honest reasoning, cost math, and the Cambridge-specific details (triple-deckers, tight driveways, older homes) that shape the decision here.
Quick Answer
Springs, cables, cable drums, and structural panel replacement are professional work: the stored energy in a loaded torsion system can injure you badly, and a mistake can drop a door. Weatherstripping, lubrication, sensor alignment, and most opener programming are genuinely DIY-friendly. Everything else falls in between, and the deciding factors are usually tools and the risk of a second repair rather than raw skill.
Styles & brands we work with
- Raised-panel steel
- Carriage house
- Modern flush
- Full-view glass
- LiftMaster openers
- Chamberlain openers
Table of Contents
- How to Sort a Garage Door Task Before You Touch It
- What’s Genuinely DIY-Safe
- Why Torsion Springs Are in a Different Risk Category
- Opener Programming and Sensor Adjustment, Step by Step
- The Cost Math: When Professional Service Is Actually Cheaper
- Cambridge Considerations: Triple-Deckers, Tight Lots, and Who’s Responsible
- Common Mistakes to Avoid
- When to Call a Professional
How to Sort a Garage Door Task Before You Touch It
Your garage door is a system, not a collection of parts. The opener pulls, the springs counterbalance, the cables transfer force, the tracks guide, and the panels carry the load. A change to one part affects the others. That’s the first filter for any DIY decision: does this task touch the load path or the force path, or does it only touch the edges?
Edge work is safe. Load work is not. Here’s the sort we use when a Cambridge homeowner describes a problem over the phone:
- Does the task involve stored energy? Springs, cables under tension, and anything attached to a winding cone or drum fall here. These are not DIY tasks, full stop.
- Does the task change how the door hangs or travels? Track realignment, hinge replacement on a sagging section, and roller swaps affect alignment. Some are DIY-able, but if the door is already binding, stop and get it looked at.
- Is it an electrical or electronic adjustment? Sensor alignment, remote pairing, travel-limit setting, and force adjustment are usually safe. Anything involving the panel or wiring inside the opener housing is not.
- Is it cosmetic or weather sealing? Weatherstripping, bottom seal replacement, and lubricating rollers and hinges are the safest tasks on the list.
- Does the door itself need to come down or be lifted into place? Panel replacement, section swaps, and full replacements are professional work. A garage door section is heavy, awkward, and unforgiving if it slips.
For Cambridge homeowners, the sort gets a little sharper because so many homes here are older. A door that was installed decades ago may have extension springs rather than torsion, aged cables, or a track that’s been bumped one too many times in a narrow driveway. When you’re unsure which system you have, that’s the point to stop guessing. The Cambridge Garage Door Repair Co team can tell you what’s on your door before you buy a single part.
What’s Genuinely DIY-Safe
Plenty of garage door maintenance is well within reach for a careful homeowner. These tasks don’t touch the counterbalance system, don’t require special tools, and won’t put you in the path of stored energy.
- Lubrication. A few drops of garage-door-specific lubricant on hinges, rollers, and the torsion bar bearings once or twice a year quiets a door and slows wear. Avoid greasing the tracks themselves; they’re meant to stay clean and dry.
- Weatherstripping and bottom seal replacement. If you can see daylight under the door or the rubber flap is cracked, a new bottom seal is a straightforward swap. The same goes for the side and top trim seals.
- Safety sensor alignment. The two small sensors near the floor should face each other with their indicator lights solid. If one is blinking, check for obstructions, a bumped bracket, or a dirty lens. Straightening a bracket is a screwdriver job.
- Remote and keypad pairing. Adding a remote or changing a keypad code is a button sequence, not a repair. Every major brand has a different sequence, which is the only tricky part.
- Visual inspection. Look at the springs (are they stretched or showing gaps?), the cables (any fraying?), and the rollers (flat spots or grinding?). Catching a problem early is the cheapest repair there is.
- Cleaning the photo-eye lenses and the track. Dust, spider webs, and road grit cause more false reverses than actual sensor failures.
- Testing the safety reverse. Put a piece of wood flat under the door and close it. The door should reverse on contact. This is a five-minute test worth doing monthly.
None of these require a ladder taller than a step stool or a tool beyond a screwdriver and a wrench. They’re the tasks that keep a door running well and catch small problems before they become the kind of failure that needs garage door repair on short notice.
Why Torsion Springs Are in a Different Risk Category
A torsion spring is a coiled steel bar under constant tension, wound tight enough to lift a door that weighs well over 100 pounds. When it’s in place and properly wound, all that energy is contained. When it breaks, or when someone unwinds it without the right tools and technique, that energy releases all at once. This is why spring work isn’t a harder version of ordinary DIY; it’s a different category entirely.
The physics matter. A torsion spring stores energy by being twisted. Winding one by hand means standing directly in the release path with a winding bar in a cone under load. If the bar slips, the cone can spin free, and the bar becomes a projectile. Garage door technicians use specific winding bars, secure the door with locking pliers in the track, and know exactly how many quarter-turns a given spring needs to balance a specific door weight. None of that is guessable from a video.
Cables carry the same risk in a different form. They’re under tension from the springs, and a cable that’s been nicked or has slipped off a drum can snap and whip. Replacing one isn’t a matter of threading a new cable and tightening it; it’s a sequence that has to be done with the springs fully unwound, then re-tensioned afterward. That’s garage door spring repair territory, and it’s why we treat it as its own service rather than a side note.
Extension springs, still common on older Cambridge homes, carry their own version of this risk. They’re mounted above the track and stretch along it, and when they fail they can travel. Many extension spring systems use safety cables to contain a broken spring, but not all do. If your door has extension springs without cables, that’s worth a look by someone who knows what they’re checking. Our technicians have up to 13 years of experience with both torsion and extension systems, and we’ve worked on doors where the previous repair was clearly a DIY job that got most of the way there.
Opener Programming and Sensor Adjustment, Step by Step
The opener is where DIY confidence pays off, provided you stay on the programming side and out of the housing. Pairing a remote, resetting travel limits, and adjusting force settings are all tasks you can complete yourself. The steps vary by brand, so these are the general sequences for the most common ones you’ll find on Cambridge doors.
Pairing a Remote or Keypad
- Locate the learn button on the opener motor head. On most LiftMaster, Chamberlain, and Craftsman units it’s a colored square or round button under the light cover. On Genie units it’s usually labeled and set slightly away from the terminals.
- Press and release the learn button. An indicator light will come on or blink, which means the opener is in pairing mode.
- Within about 30 seconds, press and hold the button on the remote you want to pair until the opener clicks or the light flashes. Release.
- Press the remote once more to test. If the door moves, it’s paired. If not, repeat with a fresh press of the learn button.
Keypads work the same way, with a code entry step in place of the button press. If a remote won’t stay paired, the battery is the first thing to check, and a stuck button on the remote is the second.
Adjusting Travel Limits and Force
If the door stops short of the floor or reverses before it should, the travel limits need adjusting. Most openers have up and down adjustment screws or a programming menu. Set the down limit so the door closes fully and compresses the bottom seal slightly, then set the up limit so the door clears the opening. Force adjustment should be set to the minimum that reliably moves the door; setting it too high defeats the safety reverse and stresses the whole system.
Sensor Alignment
If the door closes partway and reverses, check the sensors first. Both indicator lights should be solid. If one is dark or blinking, adjust the bracket until they face each other squarely, clean the lenses, and test again. If they still won’t hold, the sensor or the wire is failing, which is garage door opener repair rather than a programming issue.
One thing to leave alone: the inside of the opener housing. Capacitors and wiring in there hold a charge and aren’t meant to be opened by anyone without training. If the opener is buzzing, clicking, or dead, that’s a diagnosis for a technician. We work on the brand you already have, including LiftMaster, Chamberlain, Genie, Raynor, and the other major lines, so there’s no need to replace an opener just because it needs repair.
The Cost Math: When Professional Service Is Actually Cheaper
DIY looks cheaper on paper because the visible cost is the part. The real comparison includes tools you may never use again, the time invested, the markup you pay at retail versus what a technician pays, and the risk of a second call if the first repair doesn’t hold. Here’s how that math usually shakes out for Cambridge homeowners, using typical estimated ranges. The written estimate always sets the final price.
| Task | Typical DIY Cost | Typical Professional Estimate | Verdict |
|---|---|---|---|
| Torsion spring replacement (one spring) | $60-$120 in parts, plus winding bars ($40-$90), plus real injury risk | $180-$340 per spring; a matched pair runs about twice that | Professional |
| Extension spring replacement (per spring) | $25-$60 in parts | $120-$220 per spring | Professional |
| Cable replacement (per cable) | $20-$50 in parts, plus tensioning risk | $120-$250 per cable | Professional |
| Bottom seal replacement | $25-$60 in materials | $100-$200 including the seal | DIY if you’re comfortable |
| Weatherstripping (per side) | $15-$40 in materials | $80-$180 | DIY |
| Safety sensor replacement | $15-$40 in parts | $80-$200 | Either; wiring faults push it to professional |
| Opener repair (board, gear, capacitor) | Part cost only if you can source it | $150-$400 depending on the failure | Professional |
| Single panel replacement | Panel cost plus delivery; alignment is the hard part | $300-$700 for a standard panel | Professional |
| Full door replacement | Not a realistic DIY project | Quoted per job after a free measure | Professional |
The pattern is consistent: the more a task touches the load path, the wider the gap between what DIY appears to save and what it actually costs. A spring job that goes wrong can damage the door, the opener, or the tracks, turning a $250 repair into a much larger one. A bottom seal you replace yourself saves real money because there’s no risk of a second failure, and the work is simple.
Installation and replacement are a separate conversation from repair. That work is measured, ordered, and scheduled, with a written price before anything is ordered. If you’re weighing a new door, the right first step is a free measure, not a trip to a big-box store.
Cambridge Considerations: Triple-Deckers, Tight Lots, and Who’s Responsible
Cambridge housing stock shapes garage door decisions in ways that don’t come up in most guides. Triple-deckers and multi-unit buildings often share a driveway or a single garage structure, and that changes both who’s responsible for a repair and whether DIY makes sense at all.
If you rent, the maintenance responsibility sits with the property owner or manager, and a DIY repair by a tenant can create a liability issue if something goes wrong. Get the owner involved before touching anything beyond a sensor or a remote. If you own a unit in a condo association, the garage door and its opener may be common property, which means the association handles repairs. Check your documents before you buy a spring or a new opener; the person who pays for a repair is often not the person who lives closest to the door.
Older Cambridge homes add another layer. Garage openings in some of the narrower driveways around the city are tight enough that track damage from a bumped car is a recurring problem, and older doors may still have extension springs with their original hardware. Doors that date back decades may also be out of balance in a way that strains the opener and the springs equally, which is why a door that “just needs a spring” sometimes needs an adjustment too.
Then there’s the practical question of where to work. A tight driveway or a shared alley isn’t a great place to spread out tools and try to lift a section into place, and that alone pushes most structural work toward a professional. Our emergency garage door service exists for the situations where a door is stuck open, off its track, or jammed in a way that leaves a building unsecured. In a dense neighborhood, a door that won’t close is a security problem, and we can help resolve it. We answer 24/7, and fast dispatch runs from 7am to 7pm, Sunday through Friday.
For the tasks that do fall to you, remember that Cambridge’s freeze-and-thaw cycles are hard on bottom seals and weatherstripping. A seal that cracks in a cold snap lets water in, and water under a door freezes and stresses the whole mechanism. Checking that seal before winter is one of the highest-value things a homeowner can do.
Common Mistakes to Avoid
- Trying to unwind a torsion spring without winding bars. A screwdriver or a wrench in a winding cone is how people get hurt. The tools exist for a reason, and this is not a job to improvise.
- Replacing one matched spring instead of the pair. Matched springs are wound to work together. Replacing one leaves the other carrying more than its share, and the older spring usually fails soon after. A pair costs about twice one spring, and it’s the repair that actually lasts.
- Cranking up the opener force to fix a heavy door. Raising the force setting masks the real problem (usually a spring or track issue) and defeats the safety reverse. It’s a common DIY fix that makes the door less safe.
- Greasing the tracks. Tracks are meant to stay clean and dry. Lubricant attracts grit and makes rollers slide instead of roll, which wears them faster.
- Skipping the door balance check after any repair. Disconnect the opener and lift the door halfway by hand. It should stay put. If it drifts down or up, the spring tension is wrong and the opener is doing work it shouldn’t.
- Assuming the tenant or the neighbor is responsible. In Cambridge’s multi-unit buildings, who pays for a repair is often settled by the lease or the condo documents. Checking first avoids a dispute later.
- Buying a part online before diagnosing the actual failure. A door that’s hard to lift might have a spring problem, a track problem, or a roller problem. Buying the cheapest guess usually means buying twice.
When to Call a Professional
Call a professional for anything that touches the springs, the cables, or the drums; for any door that’s off its track or hanging unevenly; for panel or section replacement; for a door that’s come down or been struck; and for any opener problem that lives inside the housing. Those are the tasks where the risk of a second repair or a real injury outweighs whatever the DIY version saves. If your door is stuck open and the building is exposed, that’s urgent. Call (855) 870-5964. We answer 24/7, and fast dispatch runs from 7am to 7pm, Sunday through Friday. Cambridge Garage Door Repair Co offers free estimates in Cambridge, and every price is quoted and agreed before any work starts. If your door is simply noisy or the remote stopped working, Cambridge Garage Door Repair Co handles that too, and a phone conversation is often enough to tell you whether it’s a DIY fix or a service call.
See the difference
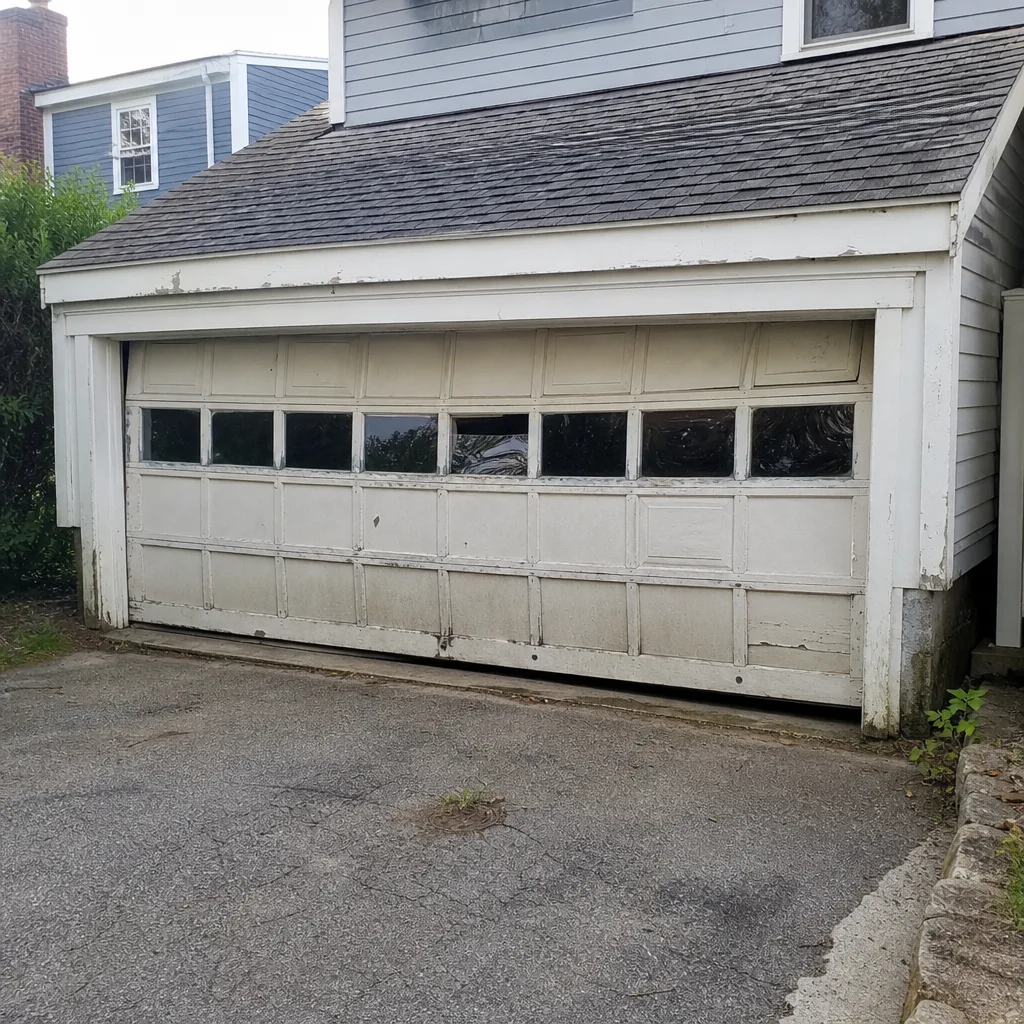 Before
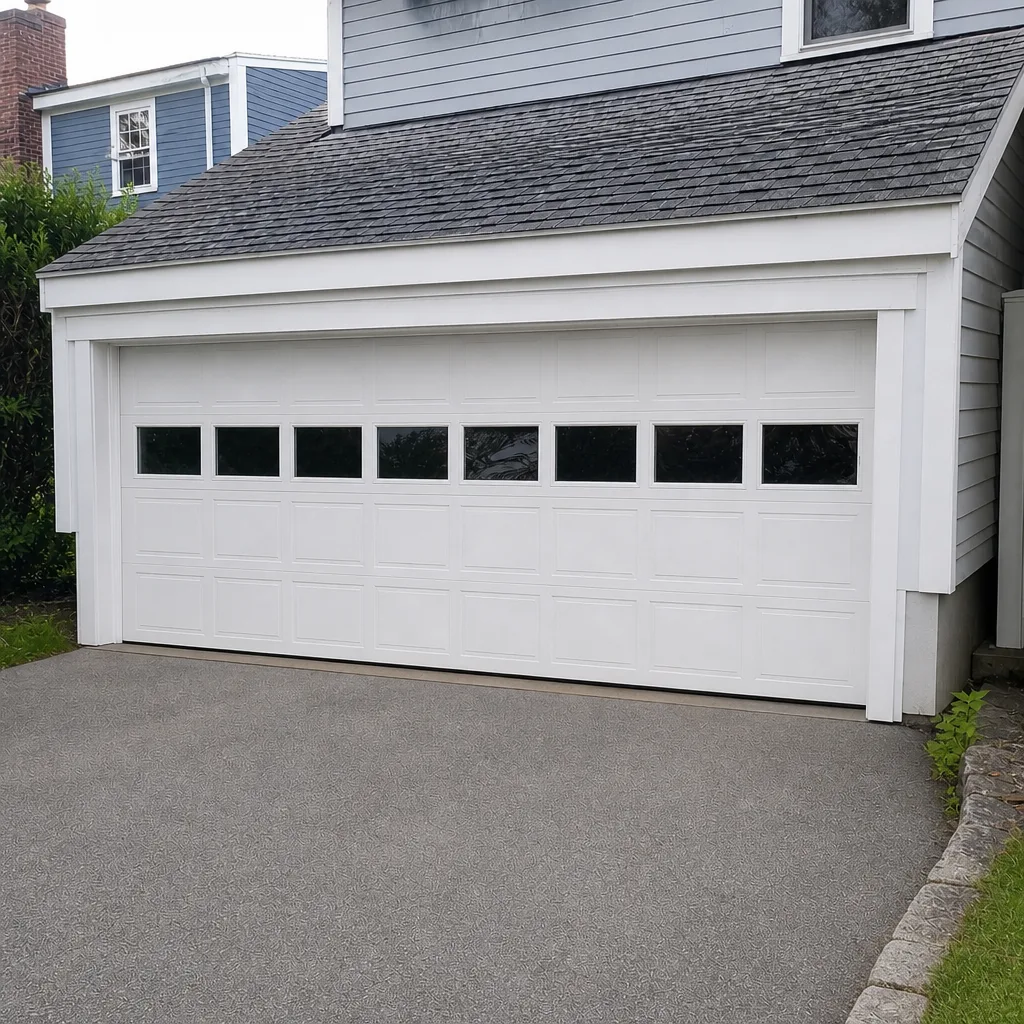 After
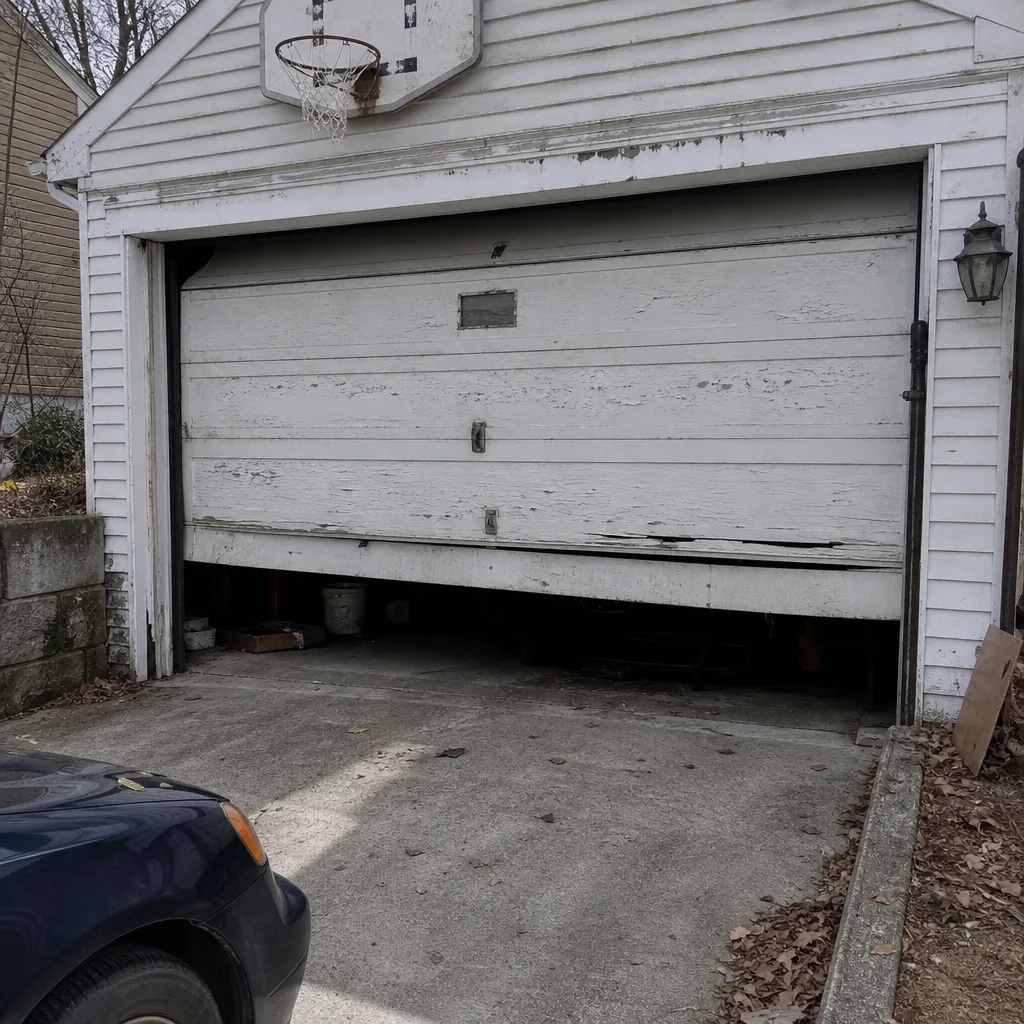 Before
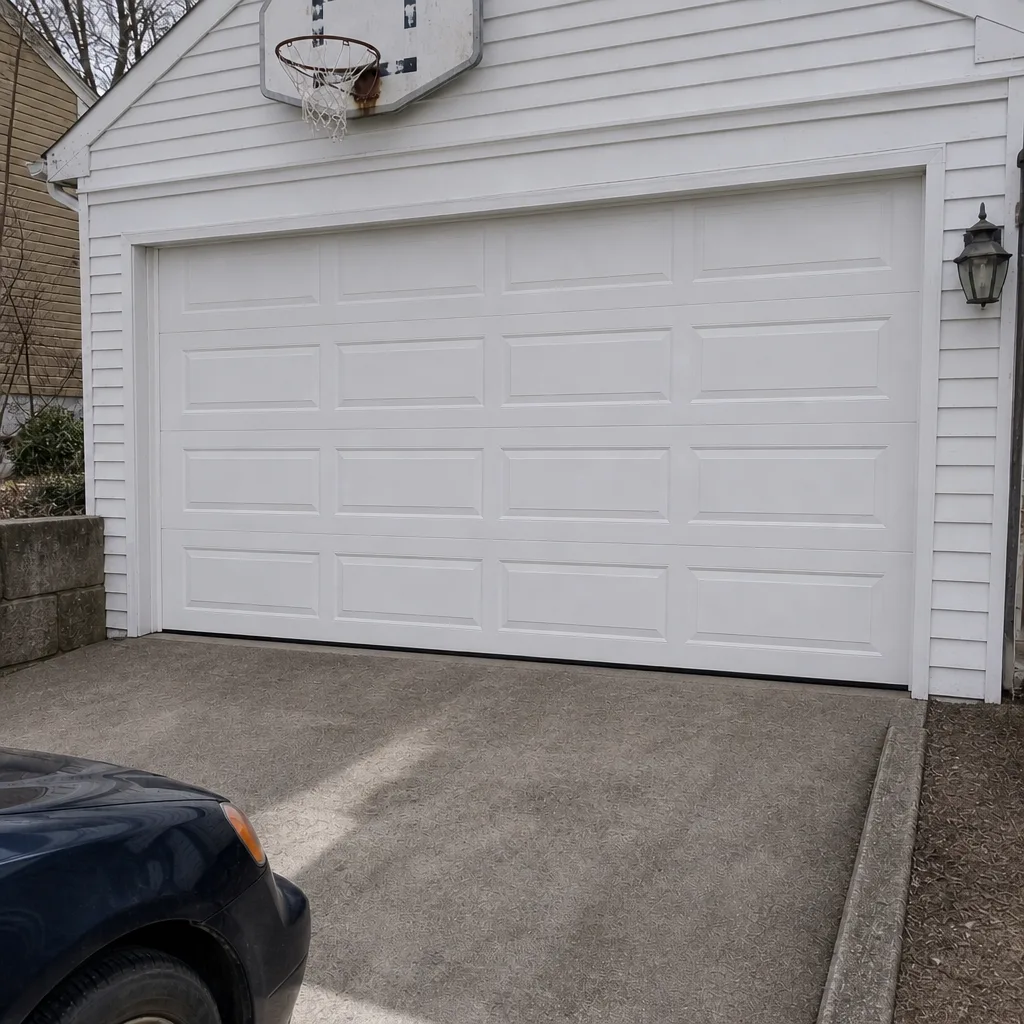 After
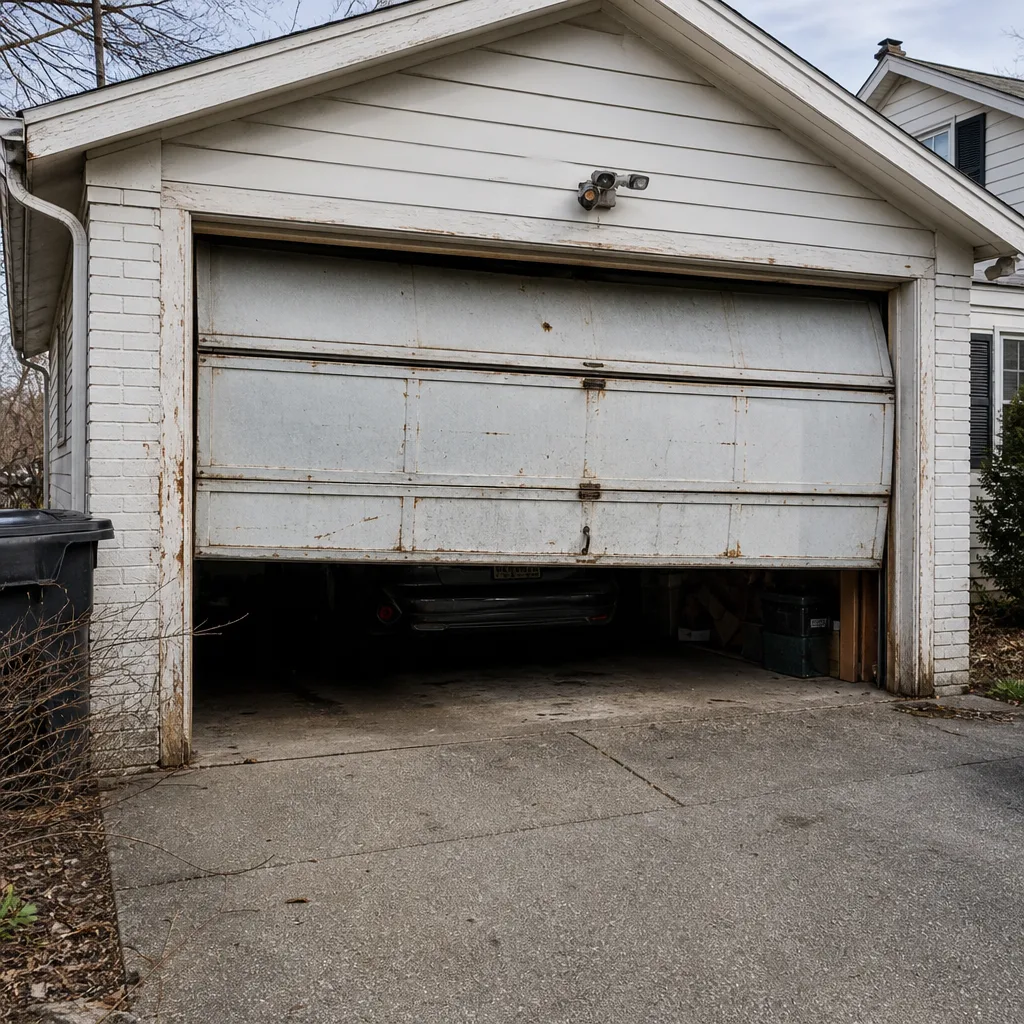 Before
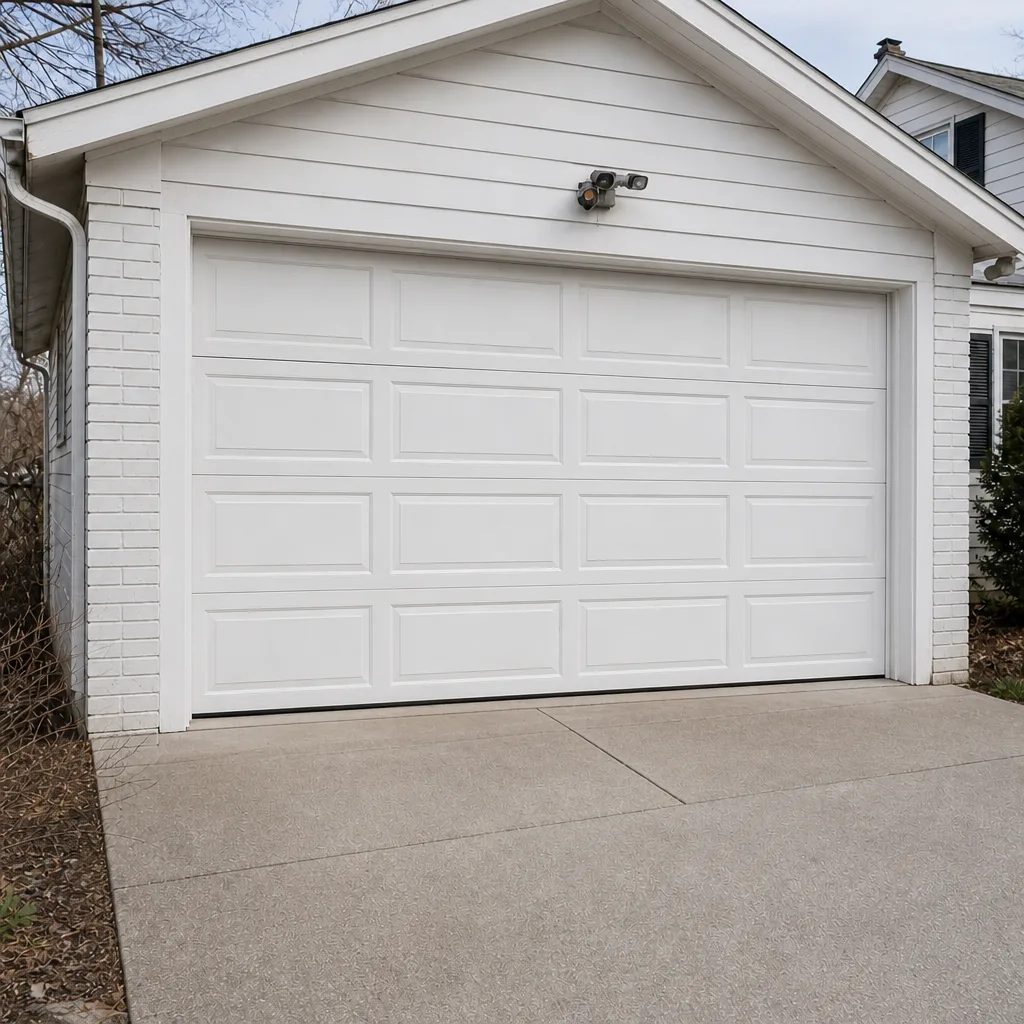 After
Frequently Asked Questions
It’s strongly discouraged. A torsion or extension spring is under enough tension to cause serious injury if it releases unexpectedly, and winding a new one requires specific tools and a matching torque calculation for your door’s weight. Spring repair is one of the most hazardous tasks in the trade. Call (855) 870-5964 for a free estimate instead.
Typical estimates run $180-$340 for a single torsion spring, and a matched pair usually runs about twice that since both are replaced together. Extension springs are typically $120-$220 per spring. The written estimate sets the final price, and it’s quoted before any work begins. Call (855) 870-5964 for an exact quote.
Yes, in most cases. If one sensor light is blinking, check for obstruction, clean the lens, and straighten the bracket so the two sensors face each other. If they still won’t hold, the sensor or its wiring is failing. Call (855) 870-5964 if the problem doesn’t clear after basic adjustment.
Start with the remote battery and a fresh pairing. If the opener is silent, clicking, or buzzing, the issue is inside the unit and needs diagnosis. Repairs depend on the failure: call (855) 870-5964 and we’ll give you a straight answer on whether it’s a repair or a replacement.
It depends on your lease or condo documents. Garage doors and openers in shared garages are often common property, which puts the repair on the association or the owner. Check your documents before arranging any work, then call (855) 870-5964 if you need an estimate to share with your building.
Usually yes. A bottom seal replacement is one of the genuinely DIY-safe garage door tasks; it’s a matter of sliding out the old seal and threading in a new one. Order a replacement that matches your door’s profile, since the wrong profile won’t seat properly.
The Bottom Line
The DIY question for garage doors isn’t about how handy you are. It’s about which tasks carry risk that grows with inexperience. Springs, cables, structural panels, and anything inside the opener housing belong with a trained technician; weatherstripping, lubrication, sensor alignment, and most programming are genuinely within reach. The cost math supports that split, since the tasks you can safely do yourself are also the ones where DIY actually saves money. For everything else, a free estimate and a written price are the cheaper path. Call (855) 870-5964 to start. We answer 24/7, fast dispatch runs from 7am to 7pm, Sunday through Friday, and we work on the brand you already have, from LiftMaster and Chamberlain to Genie and Raynor.
Written by the team at Cambridge Garage Door Repair Co.